Uploads
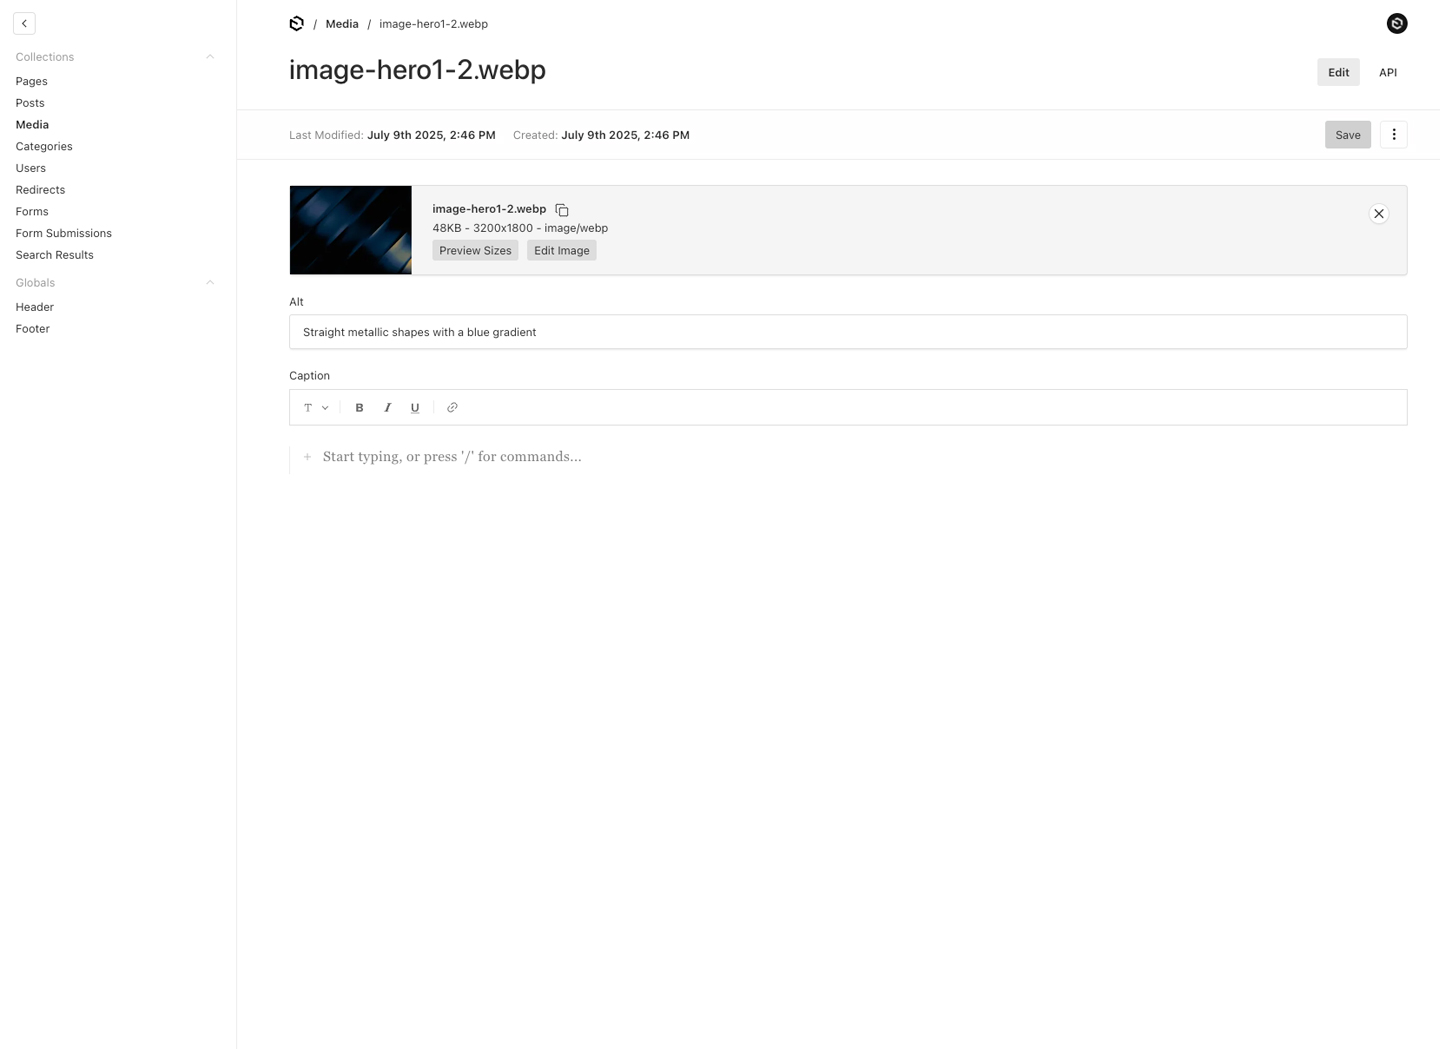
Here are some common use cases of Uploads:
- Creating a "Media Library" that contains images for use throughout your site or app
- Building a Gated Content library where users need to sign up to gain access to downloadable assets like ebook PDFs, whitepapers, etc.
- Storing publicly available, downloadable assets like software, ZIP files, MP4s, etc.
By simply enabling Upload functionality on a Collection, Payload will automatically transform your Collection into a robust file management / storage solution. The following modifications will be made:
filename,mimeType, andfilesizefields will be automatically added to your Collection. Optionally, if you declare image sizes asvariantsonsharpTransformer, avariantsgroup will also be added containing auto-resized image sizes and filenames.- The Admin Panel will modify its built-in
Listcomponent to show a thumbnail for each upload within the List View - The Admin Panel will modify its
Editview(s) to add a new set of corresponding Upload UI which will allow for file upload - The
create,update, anddeleteCollection operations will be modified to support file upload, re-upload, and deletion
Enabling Uploads
Every Payload Collection can opt-in to supporting Uploads by specifying the upload property on the Collection's config to either true or to an object containing upload options.
Collection Upload Options
An asterisk denotes that an option is required.
Option | Description |
|---|---|
| Set the way that the Admin Panel will display thumbnails for this Collection. More |
| Allow users to upload in bulk from the list view, default is true |
| Set to |
| Set to |
| Completely disable uploading files to disk locally. More |
| Enable displaying preview of the uploaded file in Upload fields related to this Collection. Can be locally overridden by |
| Accepts existing headers and returns the headers after filtering or modifying. If using this option, you should handle the removal of any sensitive cookies (like payload-prefixed cookies) to prevent leaking session information to external services. By default, Payload automatically filters out payload-prefixed cookies when this option is not defined. |
| Mandate file data on creation, default is true. |
| Field slugs to use for a compound index instead of the default filename index. |
| Set to |
| Array of Request handlers to execute when fetching a file, if a handler returns a Response it will be sent to the client. Otherwise Payload will retrieve and send back the file. |
| Restrict mimeTypes in the file picker. Array of valid mimetypes or mimetype wildcards More |
| Controls whether files can be uploaded from remote URLs by pasting them into the Upload field. Enabled by default. Accepts |
| Set to an |
| Set to |
| The folder directory to use to store media in. Can be either an absolute path or relative to the directory that contains your config. Defaults to your collection slug |
| Set to |
| Set to |
| Accepts an object with existing |
Payload-wide Upload Options
Upload options are specifiable on a Collection by Collection basis, you can also control app wide options by passing your base Payload Config an upload property containing an object supportive of all Busboy configuration options.
Option | Description |
|---|---|
| A boolean that, if |
| Set to |
| A boolean that turns upload process logging on if |
| A function which is invoked if the file is greater than configured limits. |
| Set to |
| Preserves file extensions with the |
| Maximum size in bytes for the complete raw multipart request, including files, fields, headers, and boundaries. Accepts a non-negative safe integer or |
| A |
| Set to |
| An ordered array of file transformers, such as |
| A |
| A |
| Set to |
| Set to |
Click here for more documentation about what you can control with Busboy.
Multipart requests default to requestSizeLimit: 50 * 1024 * 1024 (50 MiB for the complete raw request), limits.fileSize: 20 * 1024 * 1024 (20 MiB per file), limits.files: 3, limits.fields: 20, and limits.fieldSize: 1024 * 1024 (1 MiB per field). The request-wide limit counts files, fields, headers, boundaries, and other multipart overhead before content is passed to the parser. It allows two files at the per-file maximum with room for metadata while bounding the complete request independently of the individual Busboy limits. Concurrent requests multiply memory and temporary-storage usage; choose lower limits when appropriate for your deployment.
Individual limits overrides preserve the other defaults. A non-negative safe integer requestSizeLimit overrides the aggregate cap, and requestSizeLimit: Infinity disables it intentionally. Invalid values are rejected before the request body is read. An undefined override retains the 50 MiB default. Explicit Busboy limit values, including Infinity, are also respected. Request size, field size, file count, field count, and configured part count limits reject with HTTP 413. File size limits reject by default; abortOnLimit: false opts into truncated files. Failed requests cancel body consumption and remove temporary files.
For example, to set a 75 MiB request-wide limit and a smaller per-file limit for uploads sent to Payload:
Custom filename via hooks
You can customize the filename before it's uploaded to the server by using a beforeOperation hook.
The req.file object will have additional information about the file, such as mimeType and extension, and you also have full access to the file data itself. The filename from here will also be threaded to image sizes if they're enabled.
Variants
If you declare image sizes, Payload will automatically crop and resize your uploads to fit each of the sizes specified by your config.
The Admin Panel will also automatically display all available files, including width, height, and file size, for each of your uploaded files.
Image sizes — declared as variants, along with the rest of Sharp's image-resizing options — are configured through @payloadcms/transformer-sharp, Payload's official image-resizing transformer:
sharpTransformer writes a Sharp-agnostic projection of each configured variants entry (name, admin, and generateImageName only) back onto the collection's sanitized upload.variants, so the rest of this section — and the generated variants shape on your documents — is unaffected by where the configuration is authored. Neither imageSizes nor variants can be set on the collection itself.
Admin List View Options
Each image size also supports admin options to control whether it appears in the Admin Panel list view.
Option | Description |
|---|---|
| If set to |
| If set to |
| If set to |
This is useful for hiding large or rarely used image sizes from the list view UI while still keeping them available in the API.
Accessing the resized images in hooks
All auto-resized images are exposed to be reused in hooks and similar via an object that is bound to req.payloadUploadSizes.
The object will have keys for each size generated, and each key will be set equal to a buffer containing the file data.
Handling Image Enlargement
When an uploaded image is smaller than the defined image size, we have 3 options:
withoutEnlargement: undefined | false | true
undefined[default]: uploading images with smaller width AND height than the image size will return nullfalse: always enlarge images to the image sizetrue: if the image is smaller than the image size, return the original image
Custom file name per size
Each image size supports a generateImageName function that can be used to generate a custom file name for the resized image. This function receives the original file name, the resize name, the extension, height and width as arguments.
Crop and Focal Point Selector
This feature is only available for image file types.
Setting crop: false and focalPoint: false on sharpTransformer({ collections }) for this collection will disable the respective selector in the Admin Panel.
Cropping changes the main image. Configured image sizes are generated from the retained original, so cropping the main image does not also crop those sizes. The focal point controls how configured sizes are framed.
The focal point selector is only displayed when the collection has image sizes (variants) or image adjustments (resizeOptions, formatOptions, trimOptions, constructorOptions, or withMetadata), or when focalPoint is explicitly true.
File Versioning
Payload retains the source of each new upload as original, even when the main image is processed. With versions enabled, saved versions also retain the stored files they reference until those versions are removed. Keeping originals and file history uses additional storage, especially when an image has several generated sizes.
Existing uploads are upgraded as they are edited; no bulk file migration is required. For an older image whose untouched source was already deleted, the existing stored file is the best available original. The upgrade cannot recover source bytes or historical files that were deleted before file versioning was enabled.
SQL projects need a schema migration; see the v4 migration guide.
To read a stored historical file through Payload's file endpoint, include ?version=<version-id>. Version reads generate these URLs for the main file, original, stored variants, and thumbnail. The requested filename and storage prefix must belong to that version, and both parent-document read access and version read access are enforced. Without version, the endpoint resolves current published files and the latest draft, subject to collection read access; filenames found only in history return 404. Historical requests serve the saved bytes without rerunning transformations. Public URLs supplied directly by a storage provider remain direct.
Disabling Local Upload Storage
If you are using a plugin to send your files off to a third-party file storage host or CDN, like Amazon S3 or similar, you may not want to store your files locally at all. You can prevent Payload from writing files to disk by specifying disableLocalStorage: true on your collection's upload config.
Admin Thumbnails
You can specify how Payload retrieves admin thumbnails for your upload-enabled Collections with one of the following:
adminThumbnailas a string, equal to one of your image size names (declared asvariantsonsharpTransformer).
adminThumbnailas a function that takes the document's data and sends back a full URL to load the thumbnail.
File Previews
When editing a document in an upload-enabled Collection, the Admin Panel renders a preview of the file in the upload side panel. The preview that's used is chosen automatically based on the file's MIME type:
File type | Built-in preview |
|---|---|
| Image thumbnail (falls back to a file icon) |
| Native HTML5 |
| Native HTML5 |
| The browser's built-in PDF viewer (in an |
Everything else | Image thumbnail / generic file icon |
These built-in previews require no configuration.
Custom File Previews
To render your own preview component in place of the built-in one, use the upload.admin.components.filePreview property. It accepts either a single component that renders for every file, or a map keyed by MIME type pattern so you can target specific file types.
A single component for all file types
A map keyed by MIME type
When filePreview is an object, each key is a MIME type pattern. Payload resolves the component to render in the following priority order:
- Exact match — e.g.
application/pdf - Category wildcard — e.g.
video/* - Universal fallback —
*
If no pattern matches, Payload renders the default built-in preview for that file.
Building a File Preview component
A File Preview component can be a Server or Client Component. It receives the following props describing the current file:
Prop | Type | Description |
|---|---|---|
| | Resolved URL of the file ( |
| | The file's name |
| | The file's size in bytes |
| | The file's MIME type |
| | Image width, when available |
| | Image height, when available |
Component paths use the same syntax as other Custom Components — a string with #ExportName, or an object with path and exportName.
Customizing the Upload UI
You can completely customize the upload interface in the Admin Panel by swapping in your own React components. This allows you to modify how files are uploaded, add custom fields, integrate custom actions, or enhance the upload experience.
Upload Component Configuration
To customize the upload UI for an upload-enabled collection, use the admin.components.edit.Upload property in your Collection Config:
Building Custom Upload Components
Custom upload components must integrate with Payload's form system to work correctly. The recommended approach is to use Payload's built-in <Upload> component from @payloadcms/ui and wrap it with additional functionality.
Basic Example
Here's a minimal example showing how to create a custom upload component:
Server Component (/components/CustomUpload.tsx):
Client Component (/components/CustomUpload.client.tsx):
Advanced Example with Custom Actions
You can add custom actions, drawers, and fields to enhance the upload experience:
Available Hooks and Components
When building custom upload components, you have access to several useful hooks and components from @payloadcms/ui:
Hook / Component | Description |
|---|---|
| Get collection slug, document config, and initial state |
| Access and manipulate form field state |
| Access bulk upload context |
| Main upload component with file selection, drag-and-drop, and preview |
| Modal drawer for additional UI |
| Button to open/close drawers |
| Form field components |
Custom Upload Fields vs. Custom Upload Collections
It's important to understand the difference between these two customization approaches:
Approach | Configuration | Use Case |
|---|---|---|
Upload Collection Customization | | Customize the UI when editing documents in an upload-enabled collection (e.g., the Media collection edit view) |
Upload Field Customization | | Customize the field that references uploads in other collections (e.g., a "Featured Image" field on a Posts collection) |
Example of Upload Field Customization:
For more details on customizing fields, see Field Components.
Component Export Syntax
Custom components are referenced using file paths. Both default exports and named exports are supported:
For more details on component paths, see Custom Components.
Restricted File Types
Possibly problematic file types are automatically restricted from being uploaded to your application. If your Collection has defined mimeTypes or has set allowRestrictedFileTypes to true, restricted file verification will be skipped.
Restricted file types and extensions:
File Extensions | MIME Type |
|---|---|
| |
| |
| |
| |
| |
| |
| |
| |
| |
| |
| |
| |
| |
| |
| |
| |
| |
| |
| |
| |
| |
| |
| |
| |
| |
| |
| |
| |
| |
| |
| |
MimeTypes
Specifying the mimeTypes property can restrict what files are allowed from the user's file picker. This accepts an array of strings, which can be any valid mimetype or mimetype wildcards
Some example values are: image/*, audio/*, video/*, image/png, application/pdf
Example mimeTypes usage:
Uploading Files
To upload a file, use your collection's create endpoint. Send it all the data that your Collection requires, as well as a file key containing the file that you'd like to upload.
Send your request as a multipart/form-data request, using FormData if possible.
MCP uploads
The MCP plugin's createDocument and updateDocument tools accept files from a URL or as base64 data. Call getCollectionSchema first and use only the sources listed in upload.sources.
MCP does not expose the Local API's filePath option, preventing MCP clients from requesting arbitrary files from the server's filesystem.
Uploading Files stored locally
If you want to upload a file stored on your machine directly using the payload.create method, for example, during a seed script, you can use the filePath property to specify the local path of the file.
The data property should still include all the required fields of your media collection.
Uploading Files from Remote URLs
The pasteURL option allows users to fetch files from remote URLs by pasting them into an Upload field. This option is enabled by default and can be configured to either allow unrestricted client-side fetching or restrict server-side fetching to specific trusted domains.
By default, Payload uses client-side fetching, where the browser downloads the file directly from the provided URL. However, client-side fetching will fail if the URL’s server has CORS restrictions, making it suitable only for internal URLs or public URLs without CORS blocks.
To fetch files from restricted URLs that would otherwise be blocked by CORS, use server-side fetching by configuring the pasteURL option with an allowList of trusted domains. This method ensures that Payload downloads the file on the server and streams it to the browser. However, for security reasons, only URLs that match the specified allowList will be allowed.
Configuration Example
Here’s how to configure the pasteURL option to control remote URL fetching:
You can also adjust server-side fetching at the upload level as well, this does not effect the CORS policy like the pasteURL option does, but it allows you to skip the safe fetch check for specific URLs.
Accepted Values for pasteURL
Option | Description |
|---|---|
| Default behavior. Enables client-side fetching for internal or public URLs. |
| Disables the ability to paste URLs into Upload fields. |
| Enables server-side fetching for specific trusted URLs. Requires an array of objects defining trusted domains. See the table below for details on |
AllowItem Properties
An asterisk denotes that an option is required.
Option | Description | Example |
|---|---|---|
| The hostname of the allowed URL. This is required to ensure the URL is coming from a trusted source. | |
| The path portion of the URL. Supports wildcards to match multiple paths. | |
| The port number of the URL. If not specified, the default port for the protocol will be used. | |
| The protocol to match. Must be either | |
| The query string of the URL. If specified, the URL must match this exact query string. | |
Access Control
All files that are uploaded to each Collection automatically support the read Access Control function from the Collection itself. You can use this to control who should be allowed to see your uploads, and who should not.
If any file transformer is configured, requests for a dynamically-transformed variant of a file (for example, a resized image) run this same read access control, with req.fileTransform set to true for the duration of the transform-aware call. access.read can run a second time, without the flag, to decide an ordinary read — see Access control for details.
Modifying response headers
You can modify the response headers for files by specifying the modifyResponseHeaders option in your upload config. This option accepts an object with existing headers and allows you to manipulate the response headers for media files.
Modifying existing headers
With this method you can directly interface with the Headers object and modify the existing headers to append or remove headers.
Return new headers
You can also return a new Headers object with the modified headers. This is useful if you want to set new headers or remove existing ones.
Was this page helpful?