The Admin Panel
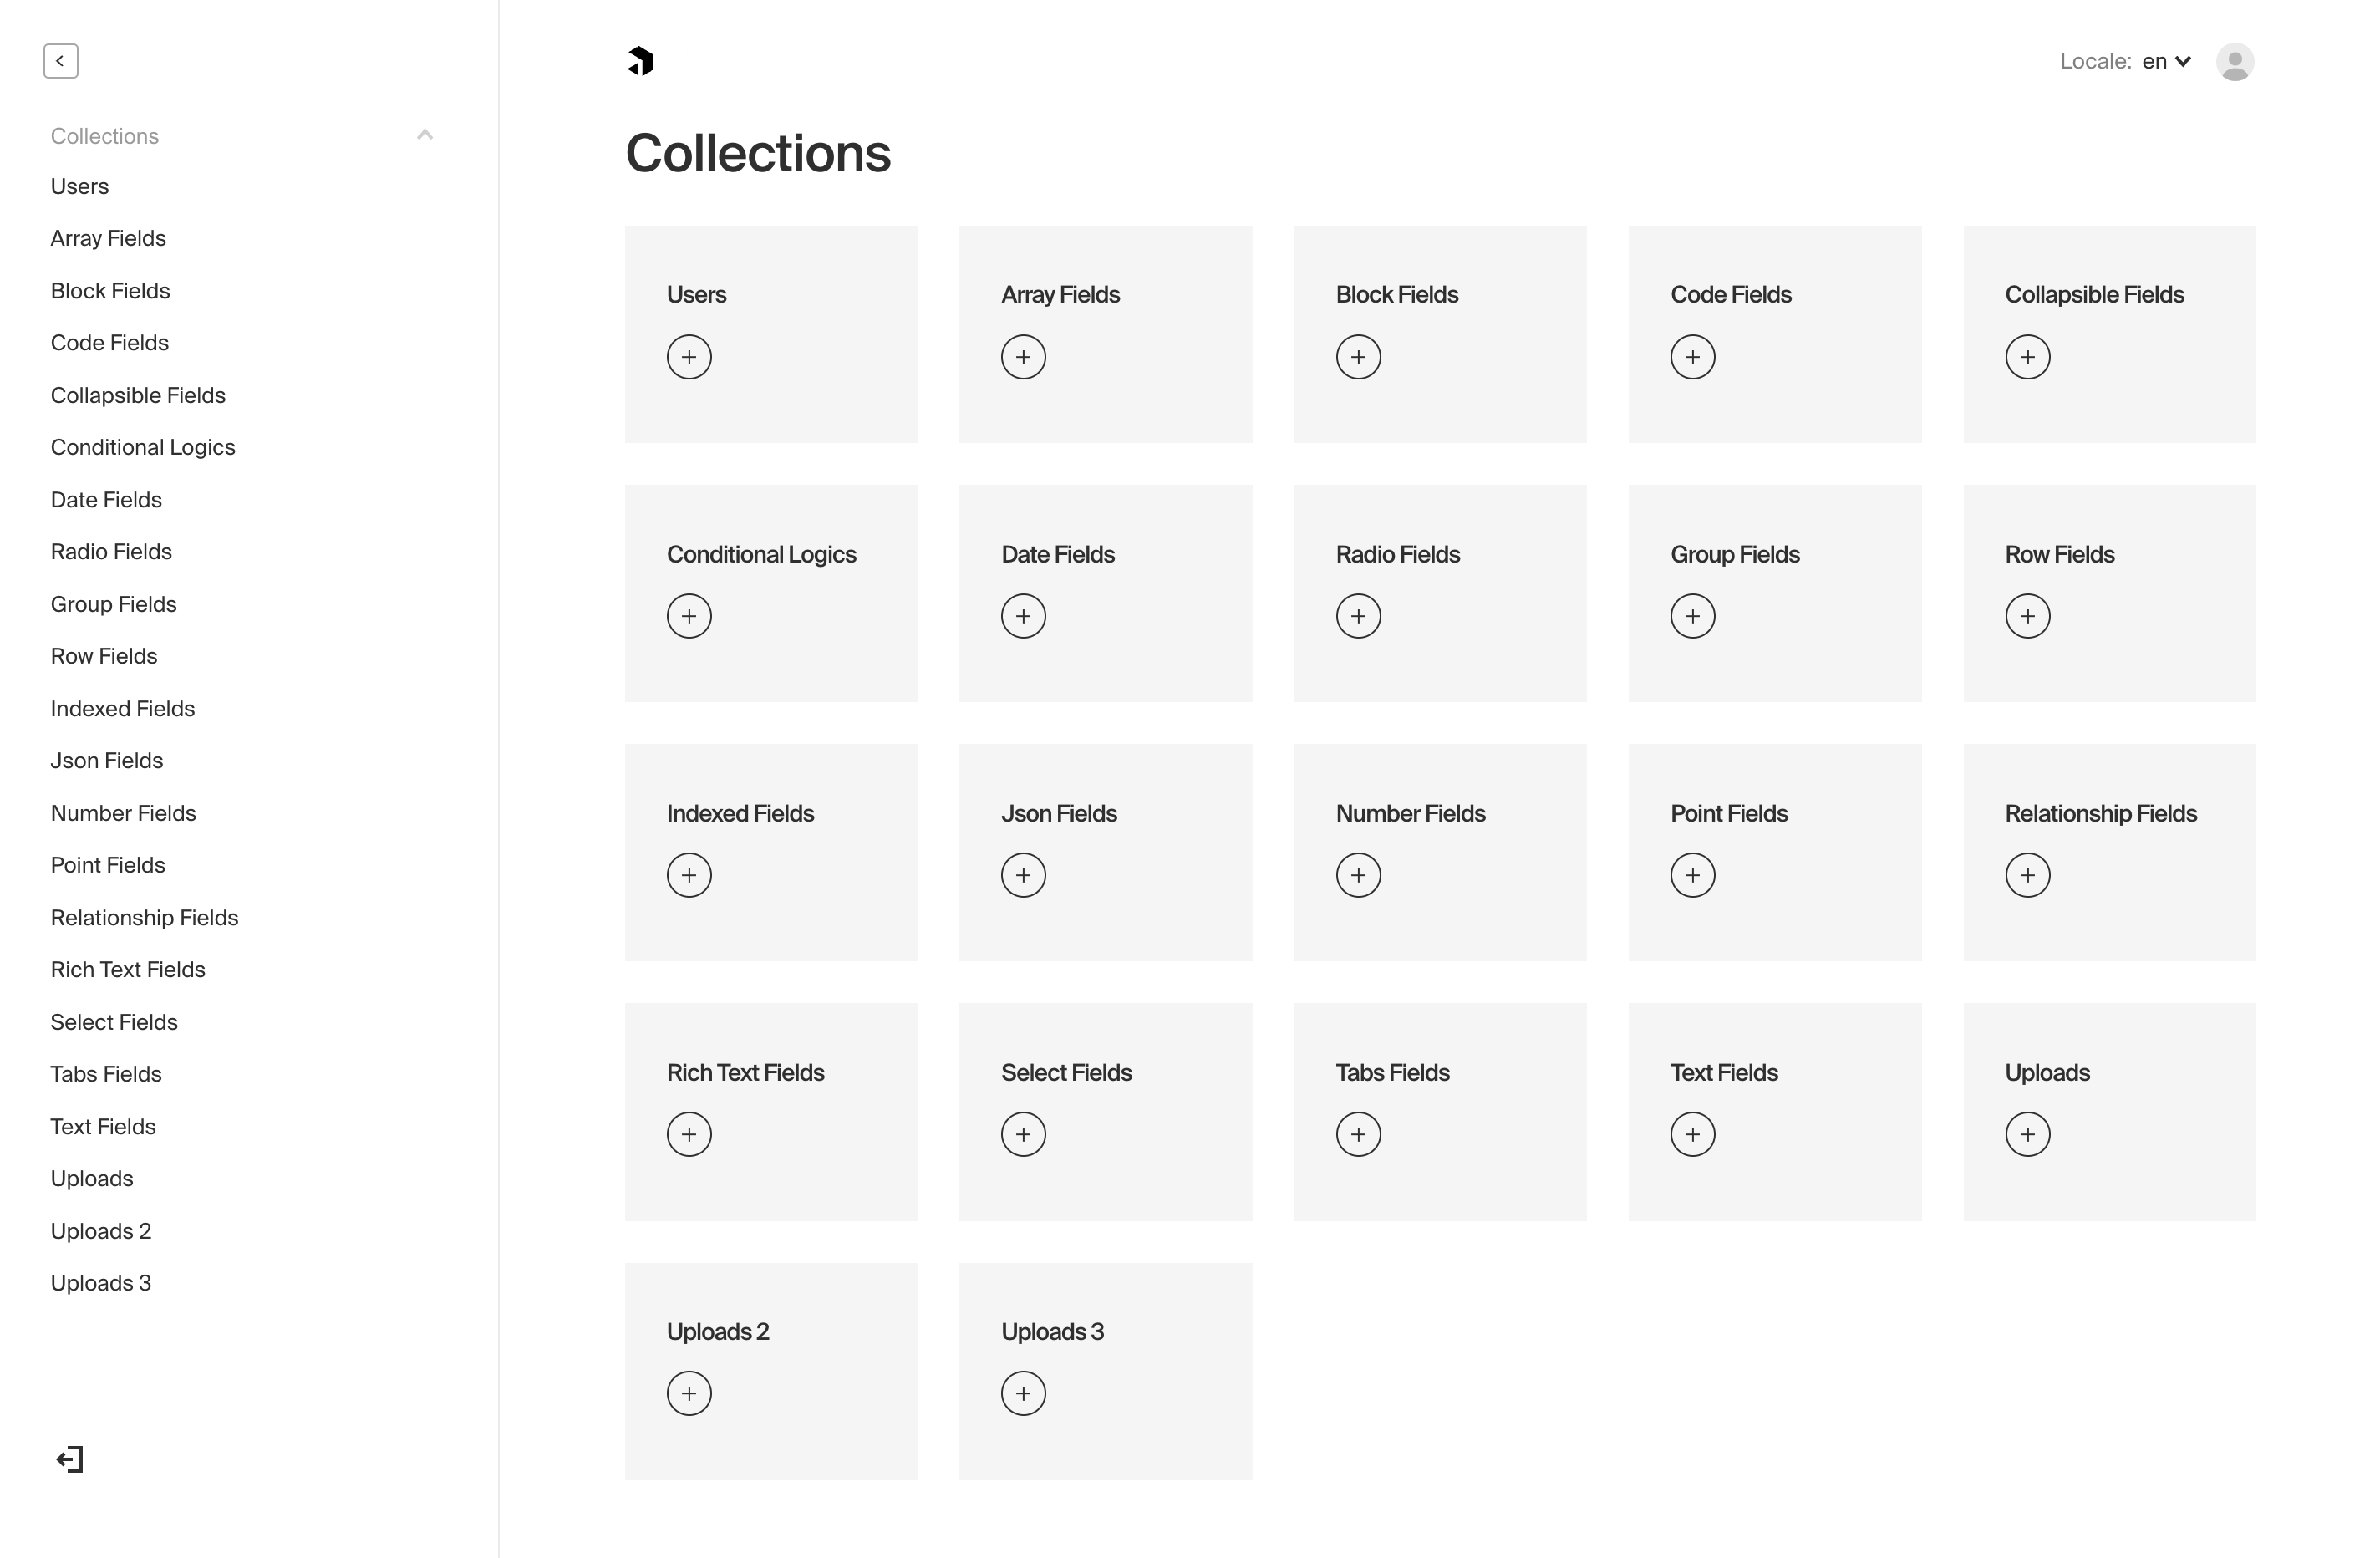
Payload dynamically generates a beautiful, fully type-safe Admin Panel to manage your users and data. It is highly performant, even with 100+ fields, and is translated in over 30 languages. Within the Admin Panel you can manage content, render your site, preview drafts, diff versions, and so much more.
The Admin Panel is designed to white-label your brand. You can endlessly customize and extend the Admin UI by swapping in your own Custom Components—everything from simple field labels to entire views can be modified or replaced to perfectly tailor the interface for your editors.
The Admin Panel is written in TypeScript and built with React using the Next.js App Router. It supports React Server Components, enabling the use of the Local API on the front-end. You can install Payload into any existing Next.js app in just one line and deploy it anywhere.
Project Structure
The Admin Panel serves as the entire HTTP layer for Payload, providing a full CRUD interface for your app. This means that both the REST and GraphQL APIs are simply Next.js Routes that exist directly alongside your front-end application.
Once you install Payload, the following files and directories will be created in your app:
As shown above, all Payload routes are nested within the (payload) route group. This creates a boundary between the Admin Panel and the rest of your application by scoping all layouts and styles. The layout.tsx file within this directory, for example, is where Payload manages the html tag of the document to set proper lang and dir attributes, etc.
The admin directory contains all the pages related to the interface itself, whereas the api and graphql directories contains all the routes related to the REST API and GraphQL API. All admin routes are easily configurable to meet your application's exact requirements.
Finally, the custom.scss file is where you can add or override globally-oriented styles in the Admin Panel, such as modify the color palette. Customizing the look and feel through CSS alone is a powerful feature of the Admin Panel, more on that here.
All auto-generated files will contain the following comments at the top of each file:
Admin Options
All options for the Admin Panel are defined in your Payload Config under the admin property:
The following options are available:
| Option | Description |
|---|---|
avatar | Set account profile picture. Options: gravatar, default or a custom React component. |
autoLogin | Used to automate log-in for dev and demonstration convenience. More details. |
buildPath | Specify an absolute path for where to store the built Admin bundle used in production. Defaults to path.resolve(process.cwd(), 'build'). |
components | Component overrides that affect the entirety of the Admin Panel. More details. |
custom | Any custom properties you wish to pass to the Admin Panel. |
dateFormat | The date format that will be used for all dates within the Admin Panel. Any valid date-fns format pattern can be used. |
disable | If set to true, the entire Admin Panel will be disabled. |
livePreview | Enable real-time editing for instant visual feedback of your front-end application. More details. |
meta | Base metadata to use for the Admin Panel. More details. |
routes | Replace built-in Admin Panel routes with your own custom routes. More details. |
suppressHydrationWarning | If set to true, suppresses React hydration mismatch warnings during the hydration of the root <html> tag. Defaults to false. |
theme | Restrict the Admin Panel theme to use only one of your choice. Default is all. |
user | The slug of the Collection that you want to allow to login to the Admin Panel. More details. |
The Admin User Collection
To specify which Collection to allow to login to the Admin Panel, pass the admin.user key equal to the slug of any auth-enabled Collection:
By default, if you have not specified a Collection, Payload will automatically provide a User Collection with access to the Admin Panel. You can customize or override the fields and settings of the default User Collection by adding your own Collection with slug: 'users'. Doing this will force Payload to use your provided User Collection instead of its default version.
You can use whatever Collection you'd like to access the Admin Panel as long as the Collection supports Authentication. It doesn't need to be called users. For example, you may wish to have two Collections that both support authentication:
admins- meant to have a higher level of permissions to manage your data and access the Admin Panelcustomers- meant for end users of your app that should not be allowed to log into the Admin Panel
To do this, specify admin: { user: 'admins' } in your config. This will provide access to the Admin Panel to only admins. Any users authenticated as customers will be prevented from accessing the Admin Panel. See Access Control for full details.
Role-based Access Control
It is also possible to allow multiple user types into the Admin Panel with limited permissions, known as role-based access control (RBAC). For example, you may wish to have two roles within the admins Collection:
super-admin- full access to the Admin Panel to perform any actioneditor- limited access to the Admin Panel to only manage content
To do this, add a roles or similar field to your auth-enabled Collection, then use the access.admin property to grant or deny access based on the value of that field. See Access Control for full details. For a complete, working example of role-based access control, check out the official Auth Example.
Customizing Routes
You have full control over the routes that Payload binds itself to. This includes both Root-level Routes such as the REST API, and Admin-level Routes such as the user's account page. You can customize these routes to meet the needs of your application simply by specifying the desired paths in your config.
Root-level Routes
Root-level routes are those that are not behind the /admin path, such as the REST API and GraphQL API, or the root path of the Admin Panel itself.
To customize root-level routes, use the routes property in your Payload Config:
The following options are available:
| Option | Default route | Description |
|---|---|---|
admin | /admin | The Admin Panel itself. |
api | /api | The REST API base path. |
graphQL | /graphql | The GraphQL API base path. |
graphQLPlayground | /graphql-playground | The GraphQL Playground. |
Customizing Root-level Routes
You can change the Root-level Routes as needed, such as to mount the Admin Panel at the root of your application.
Changing Root-level Routes also requires a change to Project Structure to match the new route. For example, if you set routes.admin to /, you would need to completely remove the admin directory from the project structure:
Admin-level Routes
Admin-level routes are those behind the /admin path. These are the routes that are part of the Admin Panel itself, such as the user's account page, the login page, etc.
To customize admin-level routes, use the admin.routes property in your Payload Config:
The following options are available:
| Option | Default route | Description |
|---|---|---|
account | /account | The user's account page. |
createFirstUser | /create-first-user | The page to create the first user. |
forgot | /forgot | The password reset page. |
inactivity | /logout-inactivity | The page to redirect to after inactivity. |
login | /login | The login page. |
logout | /logout | The logout page. |
reset | /reset | The password reset page. |
unauthorized | /unauthorized | The unauthorized page. |
I18n
The Payload Admin Panel is translated in over 30 languages and counting. Languages are automatically detected based on the user's browser and used by the Admin Panel to display all text in that language. If no language was detected, or if the user's language is not yet supported, English will be chosen. Users can easily specify their language by selecting one from their account page. See I18n for more information.
Light and Dark Modes
Users in the Admin Panel have the ability to choose between light mode and dark mode for their editing experience. Users can select their preferred theme from their account page. Once selected, it is saved to their user's preferences and persisted across sessions and devices. If no theme was selected, the Admin Panel will automatically detect the operation system's theme and use that as the default.